…
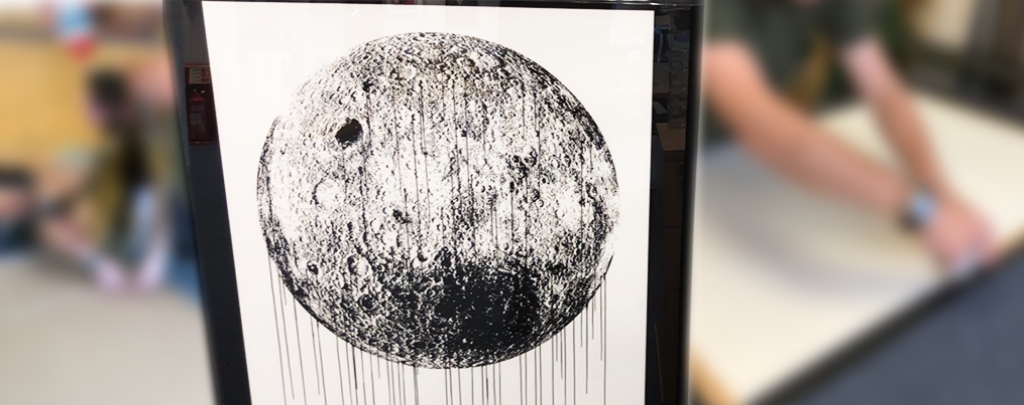
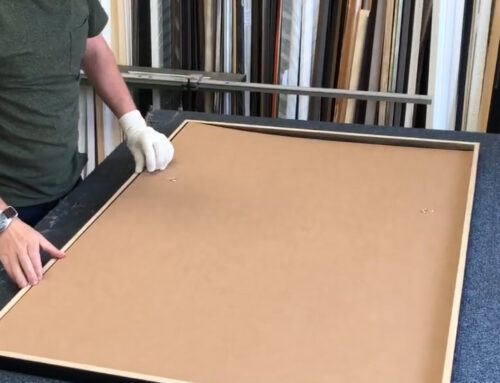
This is how the professionals ‘window mount’ artwork.
Step by step
- Measuring artwork
- Before preparing anything, it’s necessary to know the size of the artwork being framed. This affects the sizes of backboard, mounts, frame, glass etc.
- Cutting the undermount and mount boards to size
- A good quality cutter is used for a clean finish with no frayed edges.
- It’s necessary to order the right size backboard as it needs to be factory cut.
- Fixing the artwork between the undermount and mount.
- It’s advisable to use good quality mount board as the artwork sits between them and therefore has contact with them. In our example video, acid-free mount board is used to preserve the original quality of the artwork and stops the potential of staining. The white sheet is the undermount.
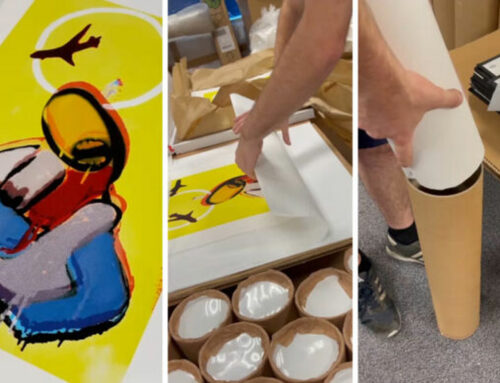
- The artwork is placed face up on a clean surface, preferably the backboard. The mount is then lined up on top of it. Using acid free gum tape (which is ph neutral) 4 lengths about 2 inches long are torn, and a small amount of water is brushed on them. These will be used for hinges securing the artwork to the mount. Tearing the hinges as opposed to cutting with straight edges makes it less likely to detect through the mount.
- The reason the artwork is secured with just hinges is because if it receives a jolt or bump in transit for example, the hinges take the force and not the artwork making damage less likely.
- Next the undermount is taped to the mount, sandwiching the art safely in the middle.
- Building the outer wooden frame, mitre moulding and underpinning
- The wooden lengths of each side of the frame are cut to size in a specialised machine as part of the process called “mitre moulding” (a mitre is a joint made between two pieces). The ends are cut at a 45% angle.
- Another machine is used to connect the ends together to form a corner, this is called underpinning. Glue is used and pins are driven through the wood.
- Once all corners are underpinned, the wooden frame is ready.
- Cutting the glass face
- The majority of the time, standard low reflective picture glass that is 67% UV protective is used.
- The glass is measured and scored. The glass is broken quickly otherwise the glass begins to heal making it harder to separate.
- Preparing hanging fixings
- The backboard is placed on a clean service and measurements are made for where the rivets are going to be placed.
- Holes are bored at the two points and a strong rivet is placed in both. The board is turned over and the rivets are secured by using a hammer to flatten the heads. tape is placed over the exposed metal.
- The reason the fixtures are put on the backboard and not the wooden frame is to set it away from the wall so the picture can hang flush with the surface.
- Bringing it all together
- The frame is laid on a clean surface and the glass is added.
- The glass is then cleaned thoroughly to remove any objects. It’s first rubbed down using an ammonia-free glass cleaner on a microfiber cloth before being blasted by high pressure air.
- The picture is also blown with high pressure air to remove any debris from its surface.
- Next goes in the mount/picture/undermount “sandwich” prepared earlier. Lastly the backboard is placed on top.
- Using a staple gun the backboard is then secured in place, before brown tape is used to hide them and insulate the join all round.
- Low stretch chord is then threaded through the rivets and tied in place.
- A final clean is performed before protection is added for its journey.
For a full overview of our professional art packing services, CLICK HERE
To see further information of our UK and international art shipping services, CLICK HERE
Brought to you by Flight Logistics-ShipartTM – International Art Shipping Services
Based in the UK, we offer a global comprehensive art handling service for all manner of artwork and fragile items. Includes collections, deliveries, professional packing, framing, customs paperwork, insurance etc.


